Choose the output you need
You have two useful starting points:- Rendered file: Claude Code runs FFmpeg to process source footage and export a video. Keep the source files, cut list, and script so you can change the instructions and render again.
- Editable timeline: Claude uses an editor integration to perform supported operations inside an NLE. Keep the native project and its source media so you can revise the edit directly.
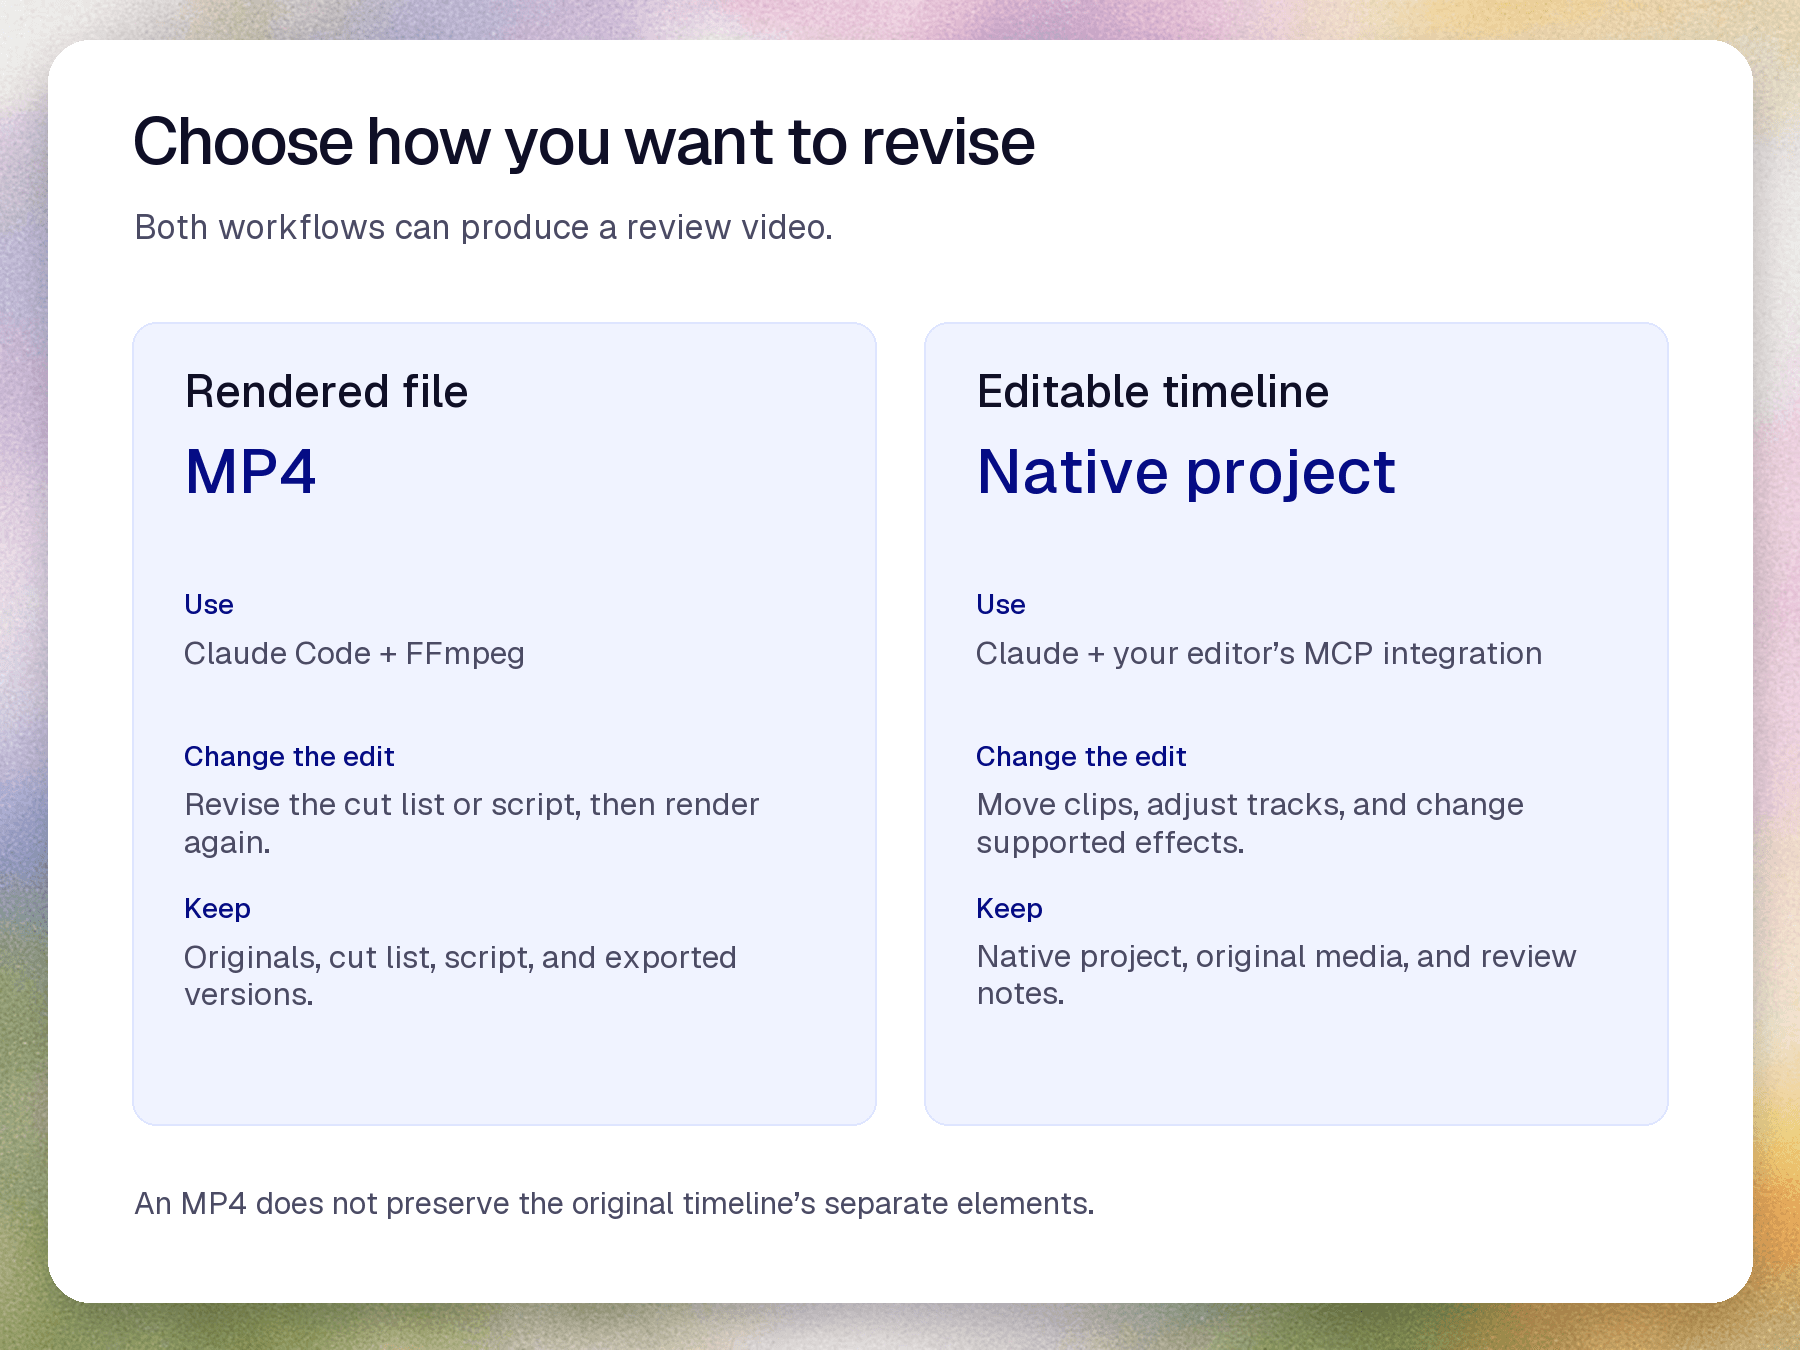
Claude directs the work; another tool edits the media
Claude Code can read files and run commands in the environment where it has permission. You can use it to inspect media, write cut instructions, and invoke FFmpeg. An ordinary Claude chat doesn't automatically have access to files on your computer. Pasting a local filename into a chat doesn't make that file available. You need a file-access environment or an appropriate connector, and the tool performing the edit must be able to resolve the source path. MCP, short for Model Context Protocol, lets an assistant call connected tools. An editor’s MCP integration exposes specific operations, not every feature in the application. You don't need a local language model for either workflow. Claude can remain cloud-hosted while FFmpeg or your editor runs locally. Your computer still needs the CPU, RAM, disk space, and any applicable GPU resources to decode footage, process effects, and render. Local rendering doesn't make the whole workflow offline. For confidential footage, review what transcripts, images, metadata, or tool responses your tools send to the assistant. A reusable video-editing skill can package instructions and conventions, but it doesn't replace the editor, permissions, or processing tools.Use Claude Code and FFmpeg for a rendered file
We recommend FFmpeg when you can specify the operations you need: extracting ranges, joining compatible segments, resizing, transcoding, or exporting review copies. Claude translates your request into commands and reports what those commands produced. You'll need Claude Code, FFmpeg, access to the media, and a separate output location. Ask Claude to inspect the input before editing rather than assume its frame rate, dimensions, audio streams, or codec. The.mp4 extension alone doesn't tell you what's inside.
For precise cuts, pay attention to whether FFmpeg copies or re-encodes the media. FFmpeg’s documentation distinguishes stream copying from encoding: copying avoids decoding and re-encoding, but the compressed media’s structure can constrain cut boundaries. For exact cuts between keyframes, you'll often need to re-encode.
Copying can be fast; re-encoding takes processing time and creates a new compressed version. Keep the originals either way.
FFmpeg doesn't itself write a native Premiere Pro or DaVinci Resolve timeline. A saved script lets you repeat or revise the render, but it isn't an NLE project.
Start with a six-second exercise
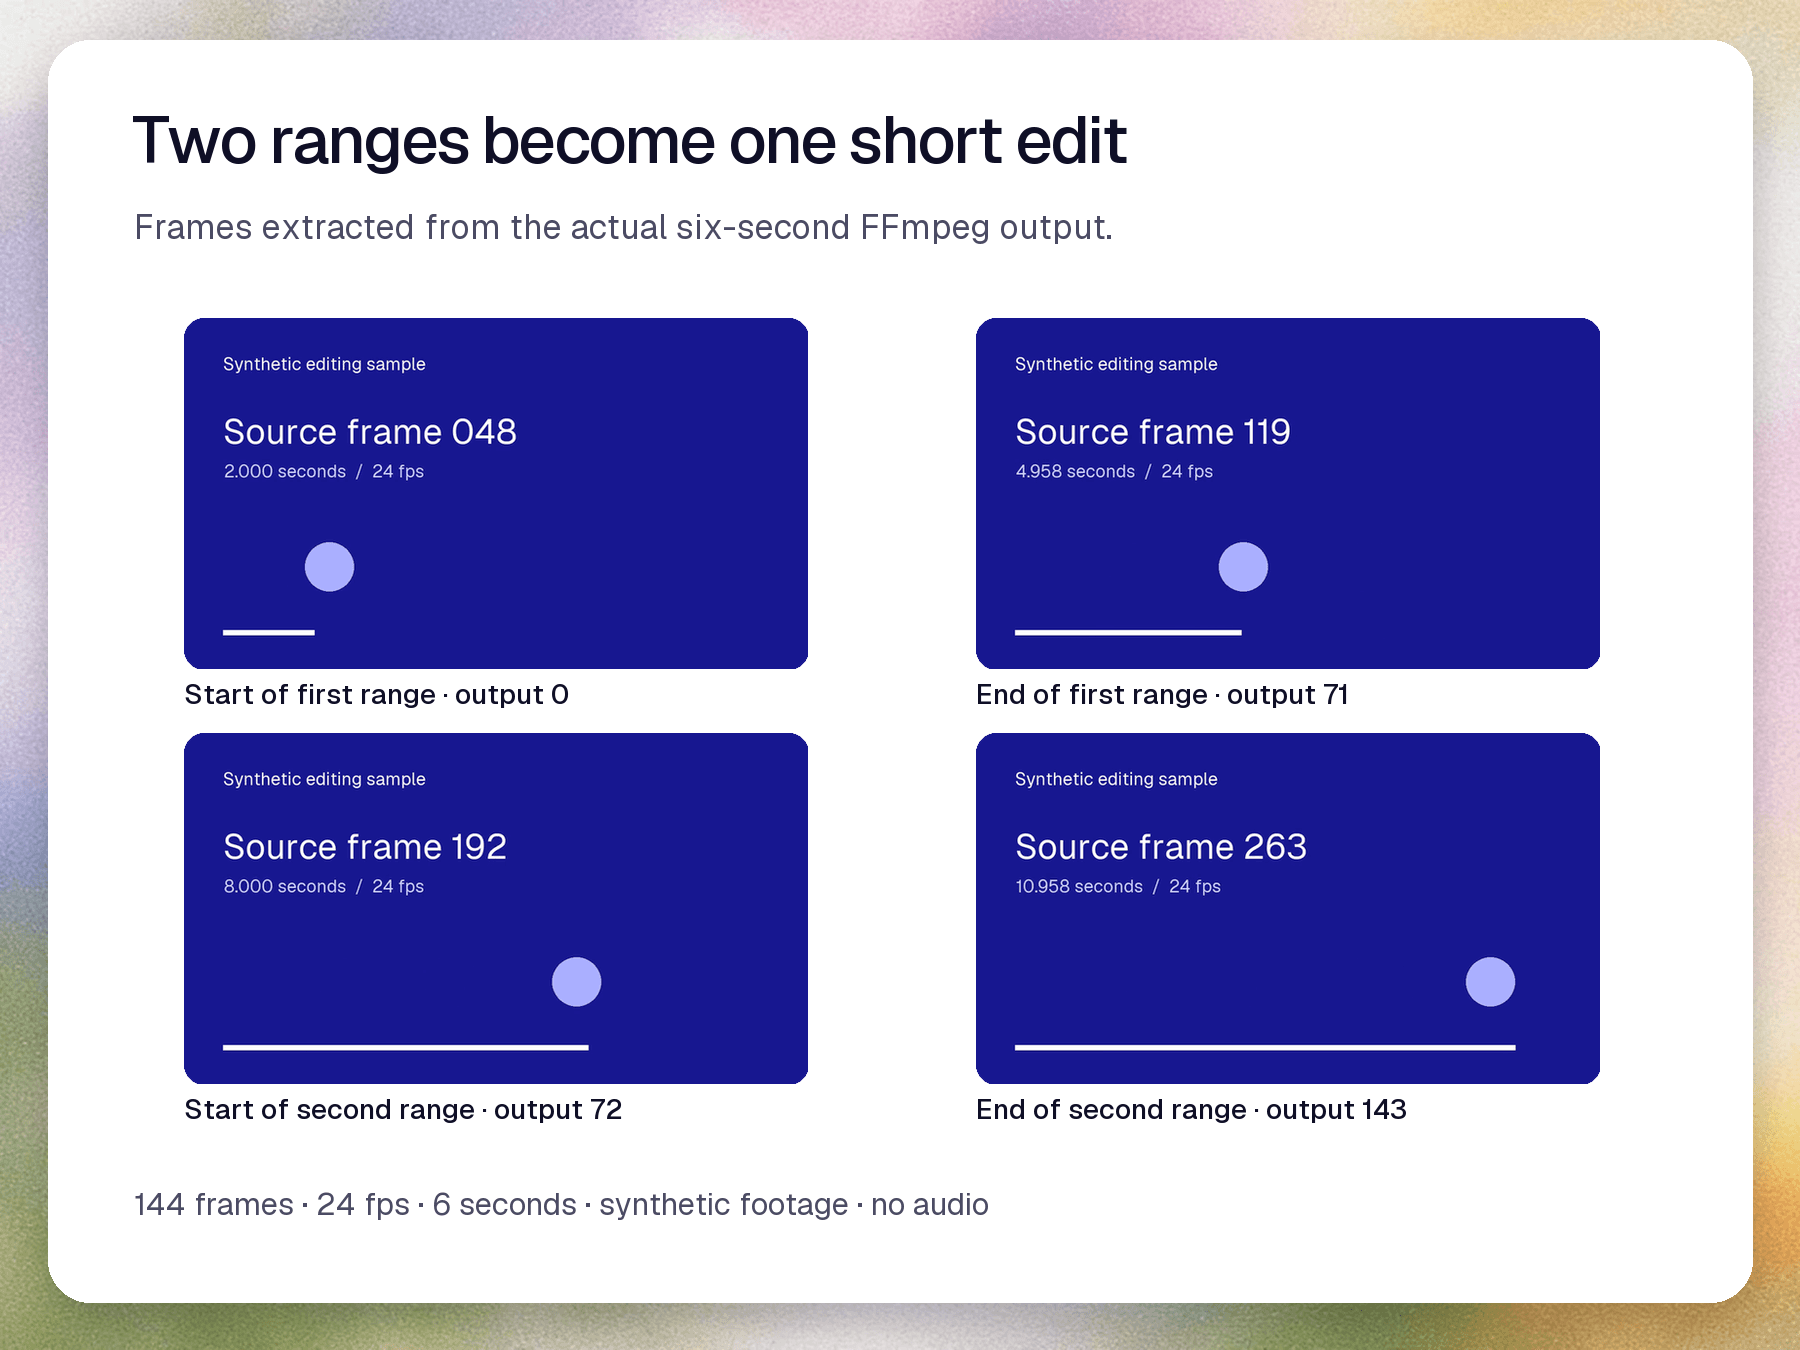
Start with a small edit so you can see how the workflow handles your files before asking for a finished promotional video. Use the sample download beside this example: a silent, 12-second, 1280×720 video at a constant 24 fps. Keep seconds 2–5 and 8–11, then join them into a six-second review MP4. The output download is also provided for comparison. Download the 12-second sample · Download the six-second output Codex ran this exact cut in FFmpeg 8.1.2 on macOS, producing a verified 6.000000-second H.264 output with 144 decoded frames at 24 fps and an unchanged source; Claude was not run. Each three-second selection contains 72 frames. Using zero-based frame numbers, the selections are frames 48–119 and 192–263, or[48, 120) and [192, 264) with exclusive endpoints. The expected output is 144 frames.
Try this prompt with Claude:
Use Claude Code and FFmpeg to inspectOpen your result as well as reading the report. Confirm that both selections appear in the right order and that the join contains no unexpected frame. Output frames 0, 71, 72, and 143 should show source frames 48, 119, 192, and 263 respectively. For footage with sound, listen across each boundary for clipped syllables, clicks, and sync problems.sample_24fps.mp4. It should be a silent, 12-second, constant-24-fps source. If it differs, stop and report the mismatch. Keep frames 48–119 and 192–263, in that order. Re-encode to a 1280×720, 24-fps H.264 review file namedreview_v1.mp4. Don't modify, move, or delete the source. Save the cut list and executable command or script. Measure the output’s decoded frame count and duration; report any mismatch against 144 frames and six seconds, or any missing input.
Use an NLE integration when you need to revise a timeline
If you or the next editor need to trim clips by hand, rebalance dialogue, or change a title, start inside the editor where that work will continue. DaVinci Resolve Studio 21.1 includes Blackmagic’s native MCP server, as documented in Aspect’s Resolve connection guide. It runs on the computer with Resolve and exposes the application’s scripting API. Keep Resolve running and configure the required scripting permissions. That bundled integration is distinct from third-party bridges. Follow setup instructions that match your editor version, operating system, and Claude client. Aspect’s Resolve, Premiere Pro, and After Effects connection tutorials cover their respective tools. Use After Effects for composition work; decide separately where you'll keep the main edit. Once connected, ask Claude to identify the active project and available operations without changing anything. Then work in a duplicate project or a new sequence. For your first timeline task, try this prompt:In the connected editor, create a new sequence namedCheck the timeline in the editor, not just Claude’s response. Open the new sequence, move a cut, play the linked audio, and reopen the saved project to confirm you can continue editing. Inspect effects separately. A connector may support clip placement without exposing every title, transition, plugin, or keyframe control. If you need to adjust an effect later, check that the editor retains it as an editable instance rather than baking it into a rendered clip.Interview_Selects_v1without changing existing sequences. Use onlyinterview_A.mov, keeping source-relative seconds 12–18 followed by 31–39. Match the source frame rate and dimensions. Preserve linked source audio and add no effects. Save the native project. Report the sequence duration, missing media, and any unsupported operation. If you can't create a native sequence, stop rather than substitute a rendered file.
Give Claude identifiable sources, not vague references
Both routes can fail if the assistant selects the wrong take or the editing tool can't reach it. Aspect can help the assistant find source media, retain source identity and time ranges, organize the working set, and make files available through a mounted project. FFmpeg or the editor still performs the edit. Aspect isn't itself a conventional NLE.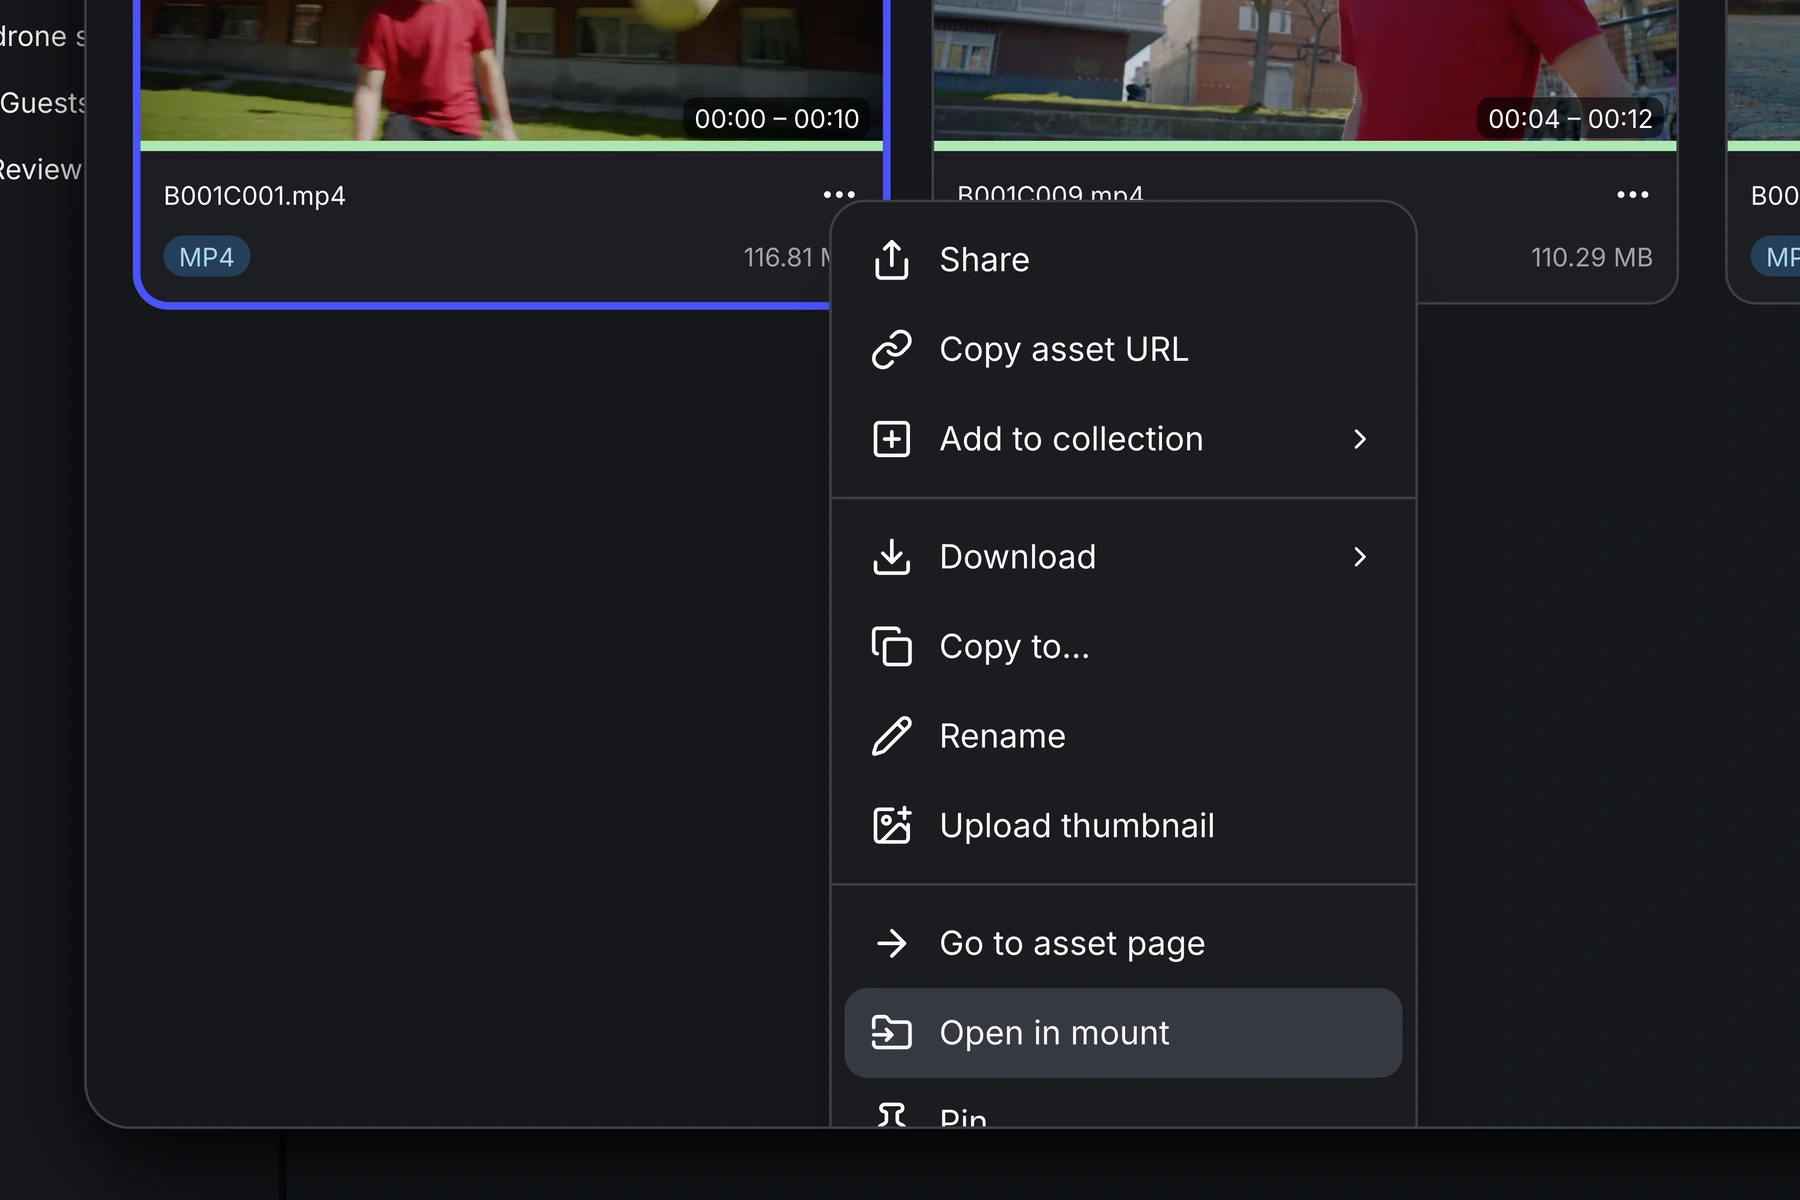
Expand the edit and make revisions
After the short edit works, add more selections, then transcript-based choices, then captions or effects. Adding one kind of task at a time makes problems easier to locate. Watch and listen to transcript-based selections before approving them. A text boundary may cut into a word, a pause may be intentional, and a clean sentence may belong to the wrong take. For FFmpeg revisions, keep the source references, cut list, script, and measured output properties with each version. Refer to the source when requesting changes: “Extend the first selection by 12 source frames at its end, leave the second selection unchanged, and save the revised cut list, script, and output as a new version.” For NLE revisions, keep the native project, accessible media, and notes about unsupported or baked-in elements. Ask for changes in a duplicate sequence: “DuplicateInterview_Selects_v1 as Interview_Selects_v2, extend the first clip’s out point by 12 source frames with linked audio, and ripple the second clip later. If there aren't enough source frames, report that instead of adding a freeze frame.”Frequently Asked Questions
Yes. Claude can direct tools such as FFmpeg or a connected video editor to trim, join, resize, or otherwise process existing footage. The media tool performs the actual edit. Claude needs access to the source files and permission to use the relevant tools.
That depends on the workflow. An FFmpeg workflow typically produces a rendered file, with revisions made by changing a saved cut list or script and rendering again. A supported editor integration can preserve clips and tracks in a native project. Importing a rendered MP4 into an editor doesn't restore its original timeline structure.
Claude can suggest selections from a timestamped transcript, but each selection should retain its source filename or asset identifier and source-relative time range. Review the corresponding video and audio before accepting the cuts. Transcript boundaries can clip words, omit useful pauses, or select an answer from the wrong take.
When FFmpeg copies compressed streams without re-encoding, cut boundaries can be constrained by keyframes and the media's structure. For frame-accurate selections, use a workflow that decodes, trims, and re-encodes the footage. Inspect the result and measure its decoded frame count rather than relying only on the command completing successfully.
No. FFmpeg or your editor may process and render footage locally while Claude remains cloud-hosted. Depending on the setup, transcripts, images, metadata, or tool responses may be sent to the assistant. Review the connector's behavior, permissions, and applicable data policies before using confidential material.
Aspect keeps successive review exports together with version stacking, helping reviewers find the current cut without sorting through separate links. Maintain a matching version identifier for each export and its cut list, script, or native project. That connection lets the editor identify which editable state produced the video being reviewed.