Proxies are smaller copies of your footage that reduce the bandwidth and local storage needed for an edit. Use them in Premiere Pro or another editing application to start working while the full-size camera originals pin in the background.

Copy proxies into your project

For ongoing editing, use Copy to… with Copy videos as proxies enabled. This keeps your working files in a shared Aspect project, where everyone on the team can mount and stream them or pin the files they need. Download as proxies creates a separate local copy to manage. You do not need that extra step to edit with proxies: copy them into Aspect, then stream them or pin them for offline use through the same mounted paths.
  1. In Aspect, select the source videos or footage folders, right-click, and choose Copy to….
  2. Choose a separate destination, such as Edit/Proxies, in an Active Storage project.
  3. Under Content, turn on Copy videos as proxies, then select Copy.
  4. Follow progress in the transfer center. If a video’s proxy is still processing, the copy waits until it is ready. Wait for the copies you need before opening them in your editor.
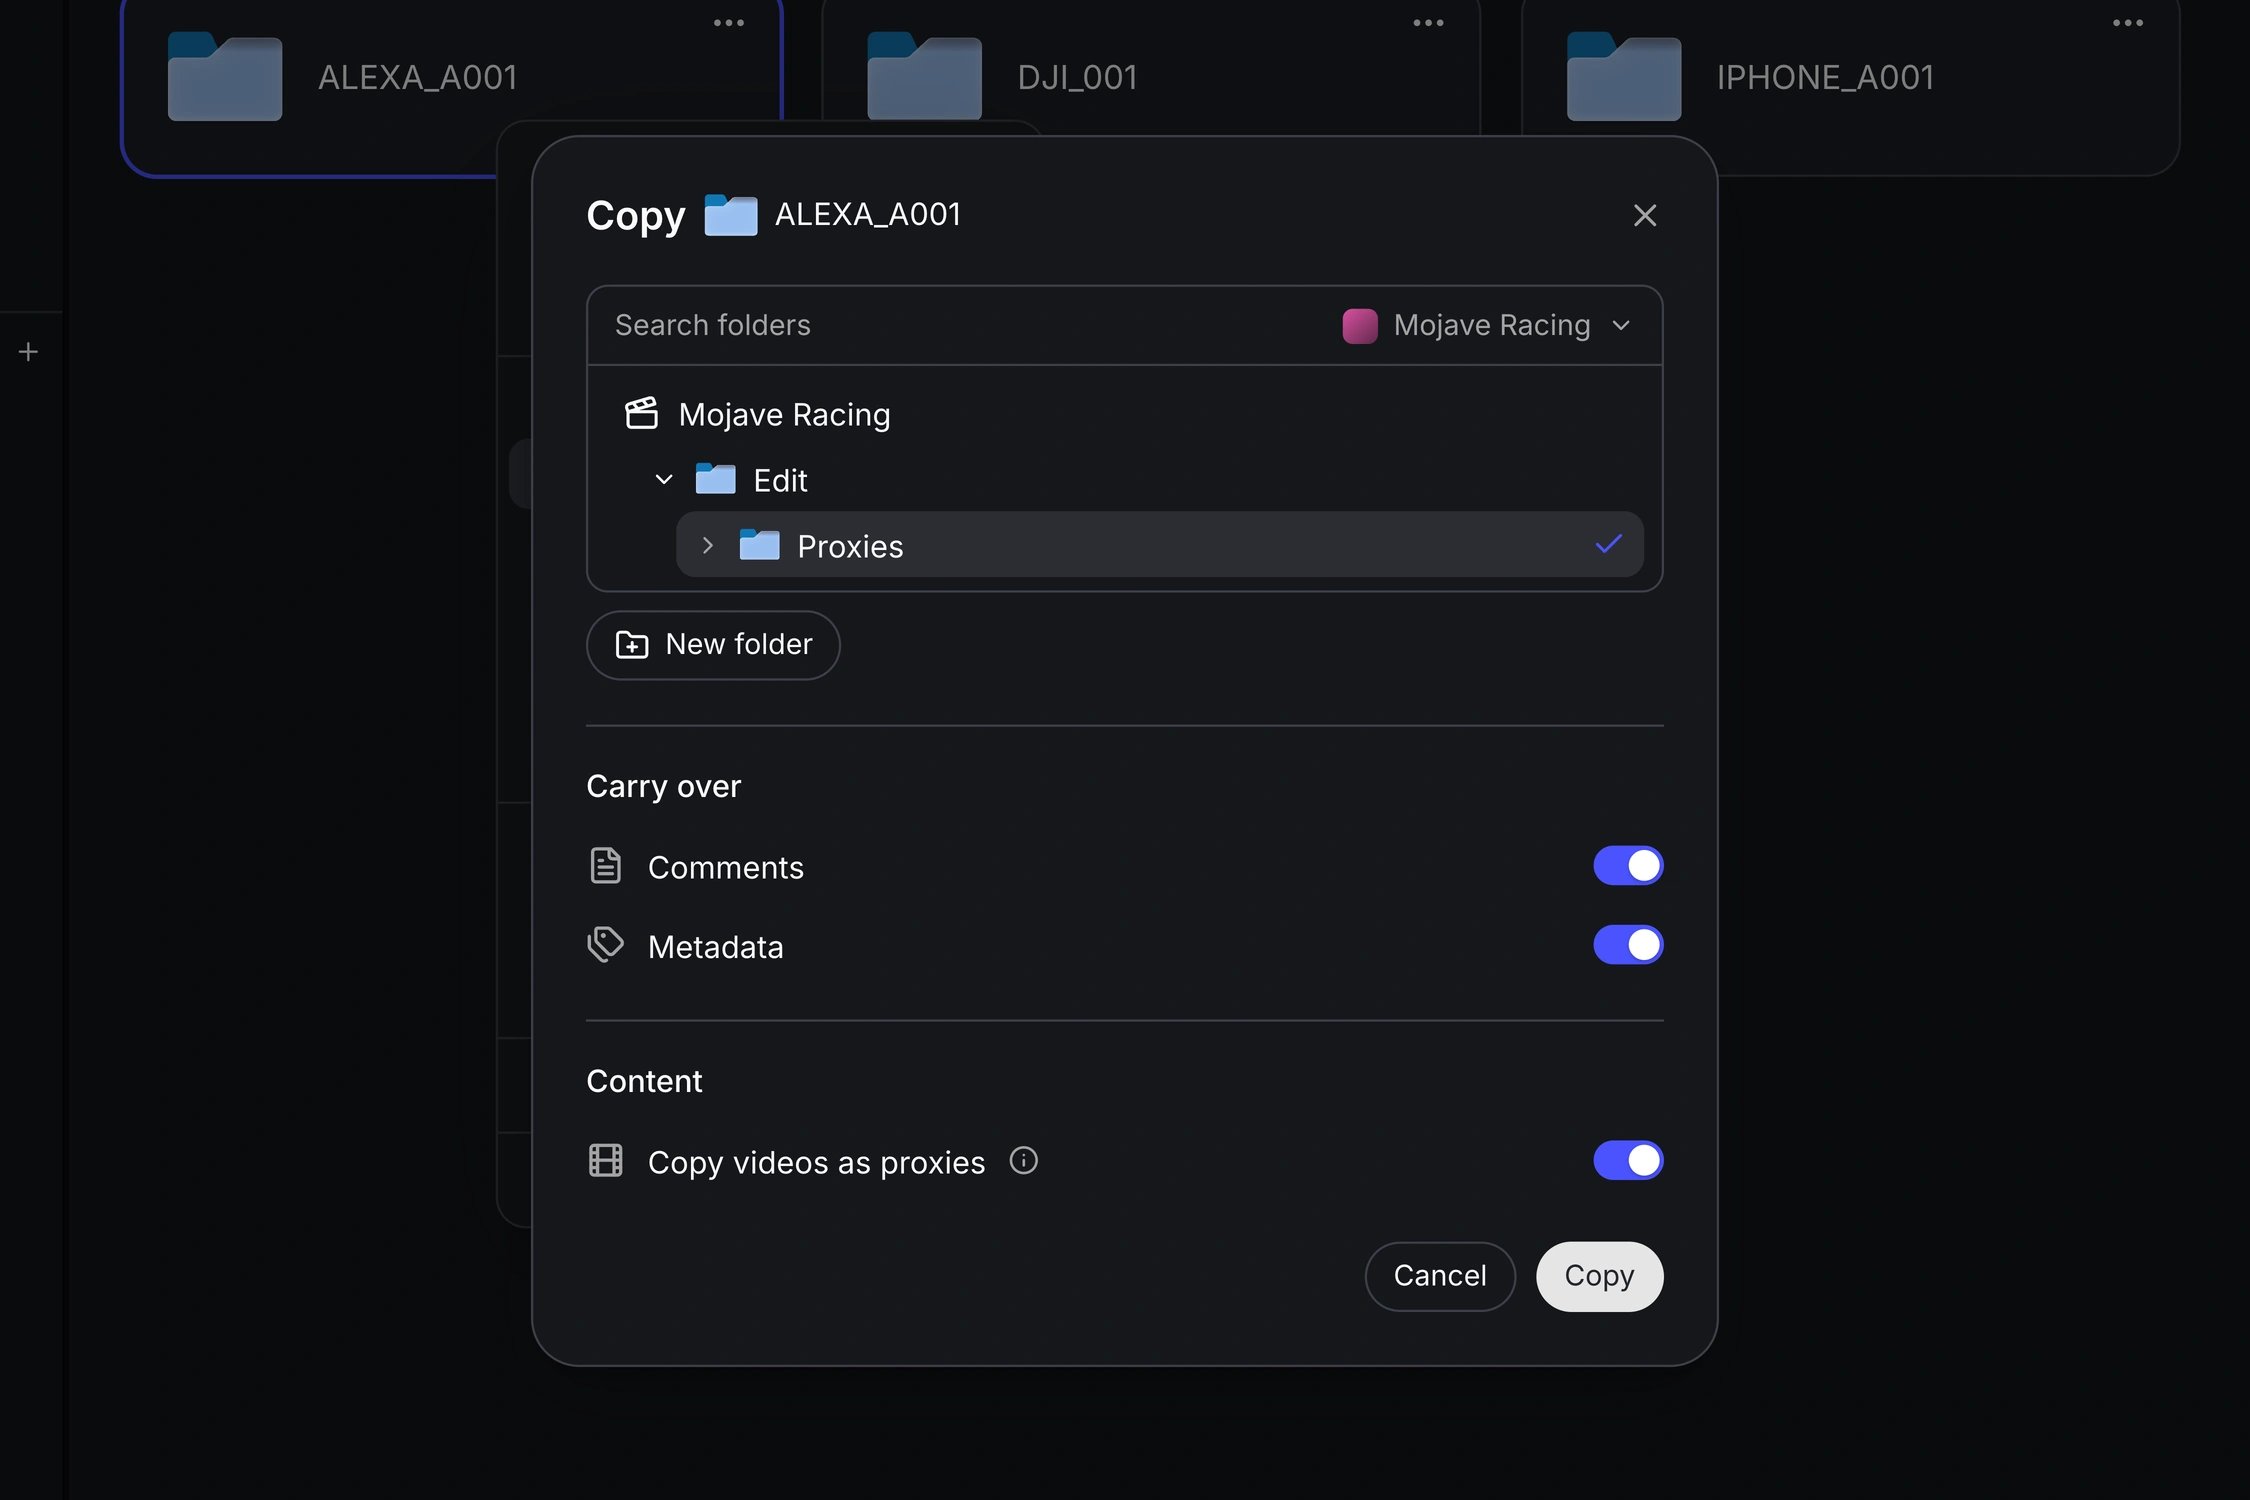
Videos become smaller MP4 copies. The source originals stay in place, and other file types are copied as-is.
Copy footage as proxies using Aspect's Copy to dialog.

Stream or pin the proxies

Open the Aspect desktop app on macOS or Windows and mount the destination project. The copied proxies appear as normal files on that drive. Use those mounted paths when attaching proxies in your editor; Aspect streams the parts you need and caches them as you work. For guaranteed local playback or offline editing, select the copied proxy folder and choose Pin. Wait for pinning to finish before disconnecting, and include any project files, audio, and graphics you need. Continue opening everything through the mounted drive; the paths stay the same whether files are streamed or pinned.

Edit while the originals pin

Start pinning the original source folder you copied from while you work with the proxies. If the originals are in another project, mount that project too. Pinning the proxy folder does not pin the camera originals. In Premiere Pro, import the original clips from the mounted drive, choose Proxy → Attach Proxies, and select their matching copied MP4s. Enable Toggle Proxies for playback. DaVinci Resolve and Final Cut Pro have equivalent proxy-linking workflows. Check a few clips for matching duration, frame rate, timecode, and audio. If your editor requires a different proxy format, create compatible proxies in that editor and keep them in the shared project. Before finishing, confirm that the originals you need have finished pinning, switch playback back to the originals, and check that your export uses the full-quality media.