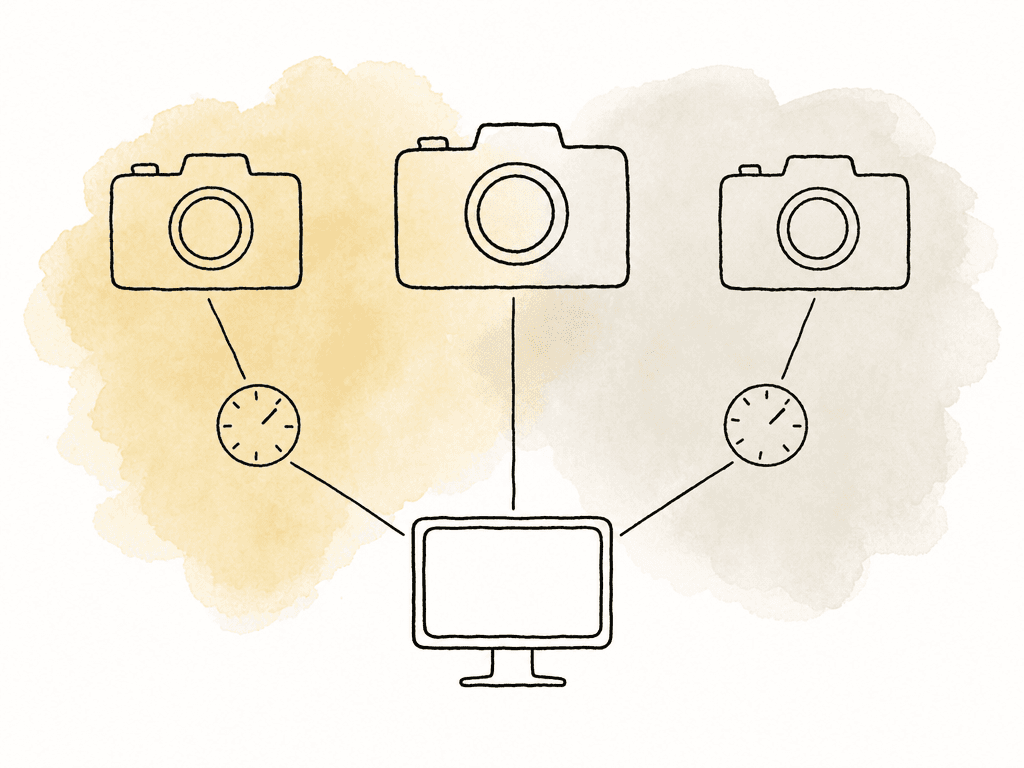
- Getting exposure and white balance into the same neighborhood on set
- Transforming different log curves and gamuts into a common space
- Creating per-camera offsets that correct repeatable differences without destroying the negative
Start with the reference camera
Choose the reference camera before testing. It is normally the A-camera, the hero cinema body, or the camera that will carry the most important coverage. In a studio, live, or PTZ-heavy environment, it may be the camera already approved by the producer, DP, or network engineering team. The reference camera defines the target. That doesn't mean forcing every other camera into the same internal settings. A Sony body shouldn't pretend to be ARRI LogC by using a random LUT in-camera. Don't paint a Canon PTZ into a brittle Rec. 709 look if your team is protecting the rest of the show for a grade. Record each camera in its strongest native mode, then convert each source into a shared viewing or working space. For most high-end or post-heavy work, that means recording native log and wide gamut:- ARRI LogC3 or LogC4 with ARRI Wide Gamut
- Sony S-Log3 with S-Gamut3.Cine
- Canon Log 2 or Canon Log 3 with Cinema Gamut
- Panasonic V-Log with V-Gamut
- RED Log3G10 with REDWideGamutRGB
- Blackmagic Film or BRAW color science settings appropriate to the camera generation
Match the scene, not just the menus
Matching camera menus is a starting point, not a match. Two cameras set to 5600K can still see the same light differently. Two lenses from different families can shift contrast and flare, and they can change warmth and saturation too. Even neutral-density filters can introduce color shifts, especially when cameras are using different strengths or different brands. Before touching LUTs, reduce the obvious variables:- Use the same lens family where possible
- Use the same ND brand and type where possible
- Disable auto white balance, auto ISO, dynamic contrast, and scene detection
- Set shutter angle or shutter speed consistently
- Use the same monitoring target for exposure, not just the same f-stop
- Custom white balance under the actual light, or deliberately set the same Kelvin and tint when that's the show standard
Shoot charts when the light changes
A color chart isn't magic, but it's one of the cheapest ways to save a mixed-camera job. Shoot the chart with every camera under the same light that will illuminate the scene. Fill enough of the frame for the chart patches to be usable, keep it out of glare, and expose it the way you expose the scene.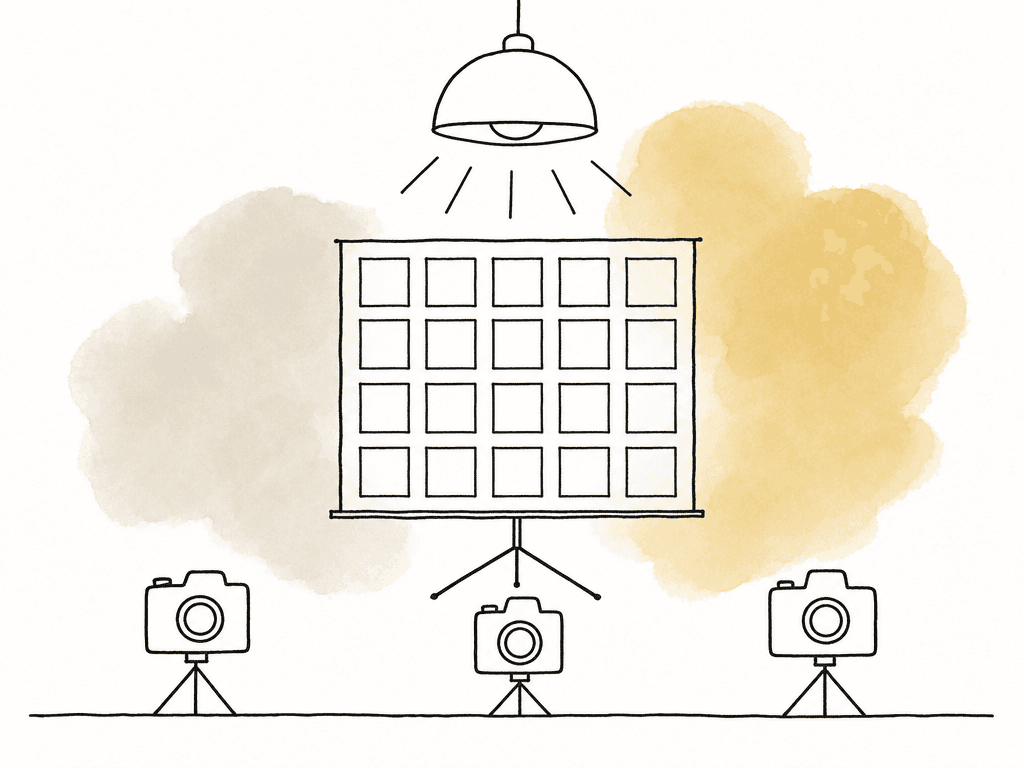
- DSC Labs OneShot or similar video-oriented charts
- Calibrite ColorChecker Video or Passport Video
- Datacolor SpyderCheckr
- Gray card and white card when a full chart is too slow
- A gray card near talent
- A white shirt under the key
- A Macbeth chart at the top of an interview
- A slate held in the actual lighting
Use scopes before trusting the monitor
A monitor is necessary, but it isn't enough. Your eye adapts quickly, especially on a busy set with changing ambient light. Scopes give you a stable way to compare cameras. Start with the waveform. It shows whether the exposure relationship is similar through blacks, midtones, and faces. It also shows what is happening to windows, practicals, and clipped highlights. If one camera has brighter mids and crushed blacks, it will feel different even when the color patches are close. The RGB parade comes next, because it shows channel imbalance and white point shifts. If a neutral gray patch has the green channel elevated on one camera, you have a tint problem. If the red channel rolls off differently in highlights, you may be seeing camera color science or highlight handling rather than a simple white balance error. The vectorscope helps with hue and saturation relationships. It's especially useful for checking skin tone direction, chart patches, and oversaturation after transforms. Don't use it alone. A camera can have a pleasant-looking vectorscope trace and still cut badly because the contrast curve is different. In a practical scope pass, compare the reference camera and each secondary camera in the same display pipeline. That last part is critical. Don't compare one camera in log, another through a manufacturer Rec. 709 LUT, and another through a show LUT. Put them through equivalent transforms first, then judge the offset.Separate technical transforms from creative looks
The cleanest mixed-camera pipeline has layers. Each layer has one job.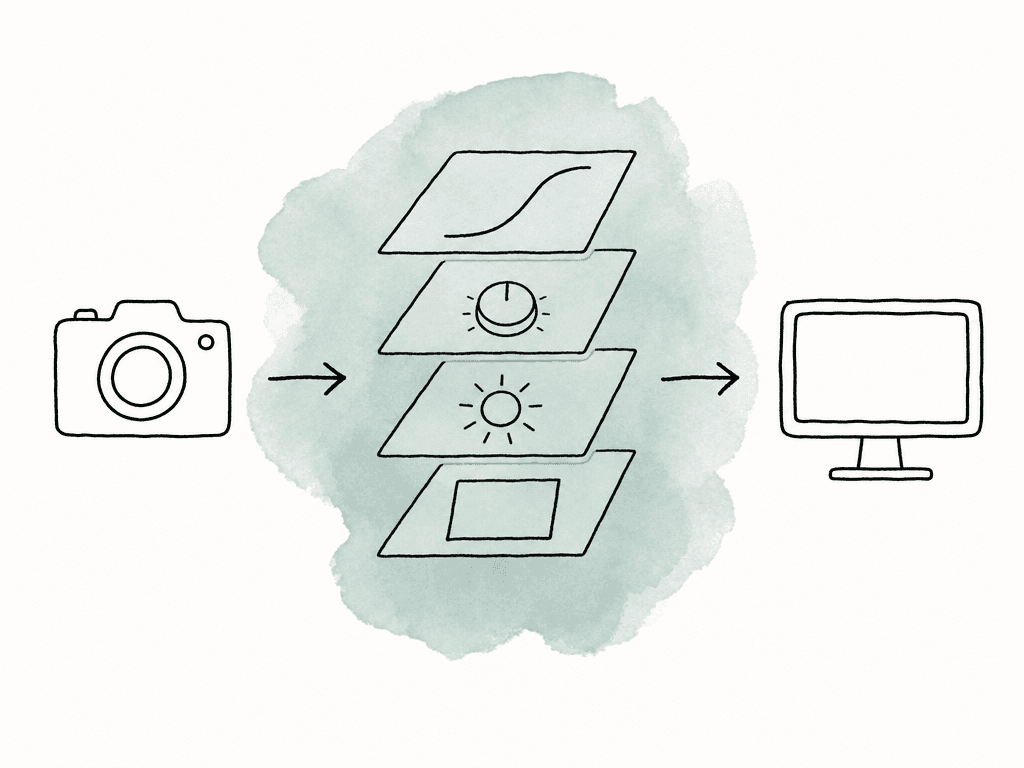
| Pipeline layer | Main job | Typical on-set or post tool | Risk if it is mixed with another job |
|---|---|---|---|
| Source transform | Convert each camera log curve and gamut into the agreed working or viewing space | ACES IDT, Resolve Color Management input setting, Baselight input transform, manufacturer technical LUT | Wrong input transform, double transform, or a camera displayed through a different path |
| Camera offset | Make each non-reference camera sit closer to the reference camera without changing the overall show look | CDL, node tree, camera-match LUT, matrix or paint controls when appropriate | Exposure, tint, or hue repairs get baked into the creative look and become hard to revise |
| Show look | Apply the approved creative style to all cameras after they have been normalized and matched | Show LUT, look node, LUT box, dailies look | The look becomes a hidden camera correction, so it only works for one body or one setup |
| Output transform | Convert the managed image to the monitor or delivery color space | Rec. 709, P3, HDR, SDR, or display-specific transform | The image is judged in the wrong display space, or the output transform is applied twice |
- Source transform: camera log and gamut into the working or monitoring space
- Camera offset: per-camera correction to match the reference camera
- Show LUT or creative look: the intended viewing style
- Output transform: conversion to the monitor or deliverable color space
Build per-camera offsets during prep
The best time to build the match is camera prep, not after lunch on the first shoot day. Put the cameras side by side and light a test scene. Shoot charts, and make sure the test includes skin tones, saturated colors, and highlight stress. Then build a simple offset for each non-reference camera. A good camera offset corrects:- Exposure placement
- White balance or tint bias
- Contrast curve differences
- Saturation level
- Specific hue skews, especially skin, reds, greens, and blues
- Highlight rolloff differences when they can be softened without damage
- Camera body and serial number
- Recording format, resolution, codec, bit depth, and chroma sampling
- Log curve and gamut
- White balance and tint
- ISO or EI
- Lens and filtration
- Monitoring LUTs and offset LUTs
- Whether any paint, matrix, pedestal, or gamma changes were baked into the recording
Handle mixed ARRI generations intentionally
Mixed ARRI jobs are common now. ALEXA 35 and ALEXA 265 use ARRI’s newer REVEAL color science and LogC4/AWG4, while earlier cameras such as ALEXA Mini LF output LogC3/AWG3 over SDI. ARRI’s own guidance treats this as a real workflow decision. On set, decide how your team will view LogC3 and LogC4 signals together. In post, decide whether the project will stay mixed-source with proper transforms, or whether your team will debayer or convert legacy ARRIRAW footage into the newer REVEAL/LogC4/AWG4 path where supported. ARRI notes that Resolve Studio 18.5 and later can debayer ARRIRAW from LogC3-based ARRI cameras into REVEAL color science, and ARRI’s Reference Tool can also be part of that conversion workflow. Not every ARRI project needs to become LogC4. But LogC3 and LogC4 are different encodings and gamuts, so treat them as different sources that need explicit transforms. If the on-set monitor path assumes they're the same, the match you approve on set may not survive dailies or final color.Verify on a calibrated reference monitor while you still have the cameras
Scopes catch measurable problems. A calibrated monitor catches perceptual ones. You need both.
Common failure modes that create ugly intercuts
Most mixed-camera problems come from a short list of avoidable mistakes. These are the ones worth watching for during prep and the first shoot day:- One camera records log while another records baked Rec. 709
- White balance is set by Kelvin only, with tint ignored
- Different ND filters create different color casts
- One camera clips a color channel earlier than the reference camera
- Dailies apply the wrong input transform or apply a LUT twice
The decision that makes the match easier
If you have time and control, the strongest workflow runs in five steps:- Record each camera in native log or RAW.
- Transform every source into a shared managed color pipeline.
- Build conservative per-camera offsets from proper tests and charts.
- Monitor through calibrated displays.
- Keep the creative look separate from all of the above.
- Lock exposure behavior and white balance
- Shoot quick charts when the lighting changes
- Use scopes when they are available
- Avoid mixing log and baked profiles unless there is no alternative
FAQ
Choose a reference camera. Expose and white balance every camera consistently under the actual scene lighting, then shoot color charts and build a conservative correction offset for each non-reference camera. View every camera through the same monitoring pipeline. Keep the source transform, the camera offset, and the creative look as separate layers, with the output transform last, instead of asking one LUT to do all four jobs.
Not necessarily. A manufacturer Rec. 709 LUT converts that camera’s log image into a display-ready image, but it may preserve the manufacturer’s own color bias. A Sony S-Log3 to Rec. 709 LUT and a Canon Log to Rec. 709 LUT don't automatically make Sony and Canon images match. Close matching takes additional per-camera offsets or a managed color workflow.
Shoot a chart for every meaningful lighting setup when possible. A chart captured at call time isn't enough once the production moves from daylight to tungsten practicals, LED walls, or concert lighting. Mixed sodium streetlight is another change worth a fresh chart. In documentary or reality work, even a quick gray card, white card, or chart at the top of an interview helps post match cameras more accurately.
ACES and other color-managed workflows help by converting different camera log curves and gamuts into a common framework, but they don't make every camera identical. Sensor response, lenses, and filtration still affect the image, and so do exposure, highlight handling, and lighting. Color management is the foundation. Per-camera offsets and visual verification are still needed for close intercut matching.
Scopes show measurable differences in exposure, channel balance, and saturation, but they don't replace perceptual judgment. A calibrated reference monitor lets the team evaluate how the cameras actually cut together through the intended viewing transform. Use it to check skin tone, wardrobe, and product colors, then look at shadows, practical lights, and overall dailies accuracy.
Store the chart clips, reference stills, and camera notes in one project location, along with the CDLs and LUTs, instead of passing revised folders around. Aspect gives editorial, dailies, VFX, and color the same shared cloud filespace, so a B-camera offset update doesn't become four conflicting files.