

Start with the decision the test is meant to support
A camera test drifts fast. One person wants to test skin, another wants to compare lenses, a third wants a LUT. The colorist wants chart frames. Editorial wants camera names and timecode that make sense. The DIT wants to know whether the dailies transform is safe. So define the decision first. Common decisions include:- Matching crash cams, drones, mirrorless bodies, action cameras, or phones to a cinema camera
- Establishing exposure guidance for a DP and camera team
- Building or validating a show LUT
- Testing an ACES, LogC, S-Log, V-Log, REDWideGamutRGB, DaVinci Wide Gamut, or camera-managed pipeline
- Confirming that dailies, editorial proxies, and finishing media carry the right color metadata
Choose charts based on the job, not brand loyalty
X-Rite and DSC Labs charts solve different problems. Many productions carry both.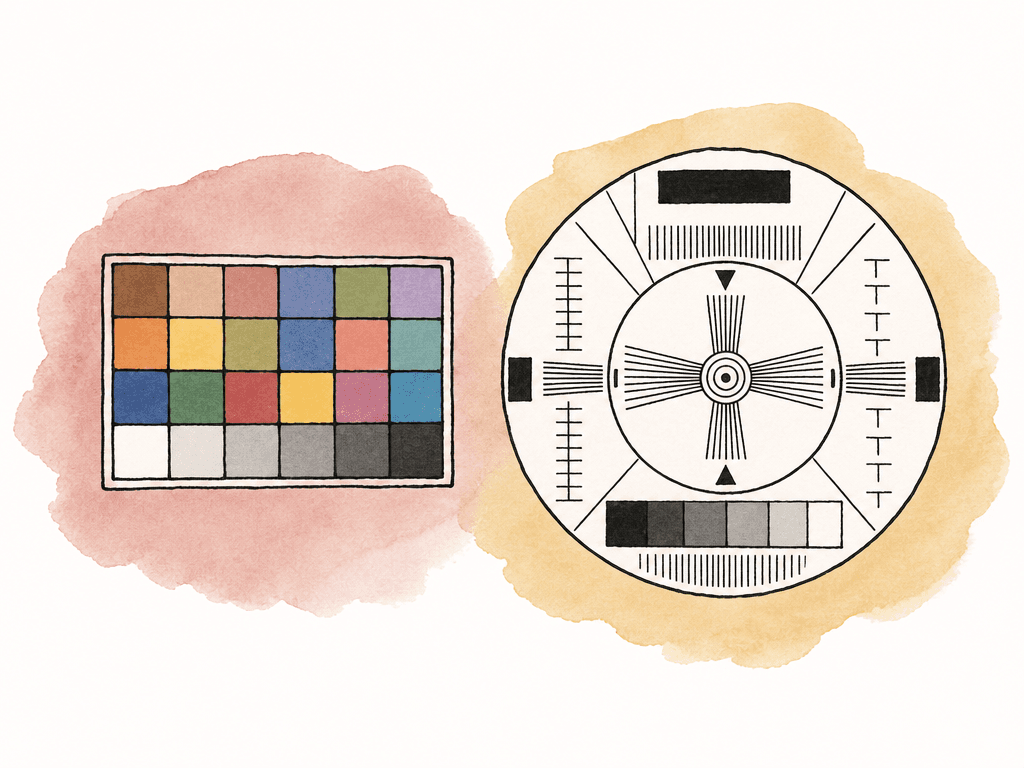
| Chart or reference | Best use | Main strength | Watch out for |
|---|---|---|---|
| 18 percent gray card | Exposure placement and white balance reference | Fast, simple, easy to repeat across cameras | Does not describe color rendition or highlight behavior |
| X-Rite ColorChecker Classic or Passport | General color reference, quick comparisons, travel kits | Widely recognized and easy to shoot on set | Small patches can be hard to sample if the chart is too small in frame |
| X-Rite ColorChecker Video | Video-oriented color and skin reference | Familiar to DITs, editors, and colorists in fast workflows | Still needs controlled lighting and proper transform handling |
| DSC Labs ChromaDuMonde, OneShot, or CamAlign | Scope-based camera matching and engineering review | Designed for vectorscope, grayscale, and camera alignment work | Larger, more expensive, and less casual to deploy |
| Grayscale or step wedge chart | Tonal response, clipping, shadow separation, latitude checks | Shows how exposure maps through the camera and transform | Must be evenly lit and exposed carefully to be meaningful |
| Focus or resolution chart | Sharpness, lens behavior, debayer, detail, or compression testing | Separates optical and processing issues from color issues | Can distract from exposure and color goals if the test is not scoped |
| Gray ball, chrome ball, and color chart | VFX lighting reference and CG look development | Helps reconstruct lighting direction, intensity, and color | Needs VFX supervision and consistent placement to be useful |
- 18 percent gray card for exposure and white balance reference
- Color rendition chart such as X-Rite ColorChecker Classic, Passport, or Video
- DSC Labs color chart when scope-based camera matching is part of the workflow
- Grayscale or step wedge chart for tonal response and clipping behavior
- Focus or resolution chart if sharpness, lens behavior, or debayer/detail settings are part of the decision
- Gray ball, chrome ball, and color chart if VFX, lighting reconstruction, or CG look development is involved
Build a controlled setup that production can repeat
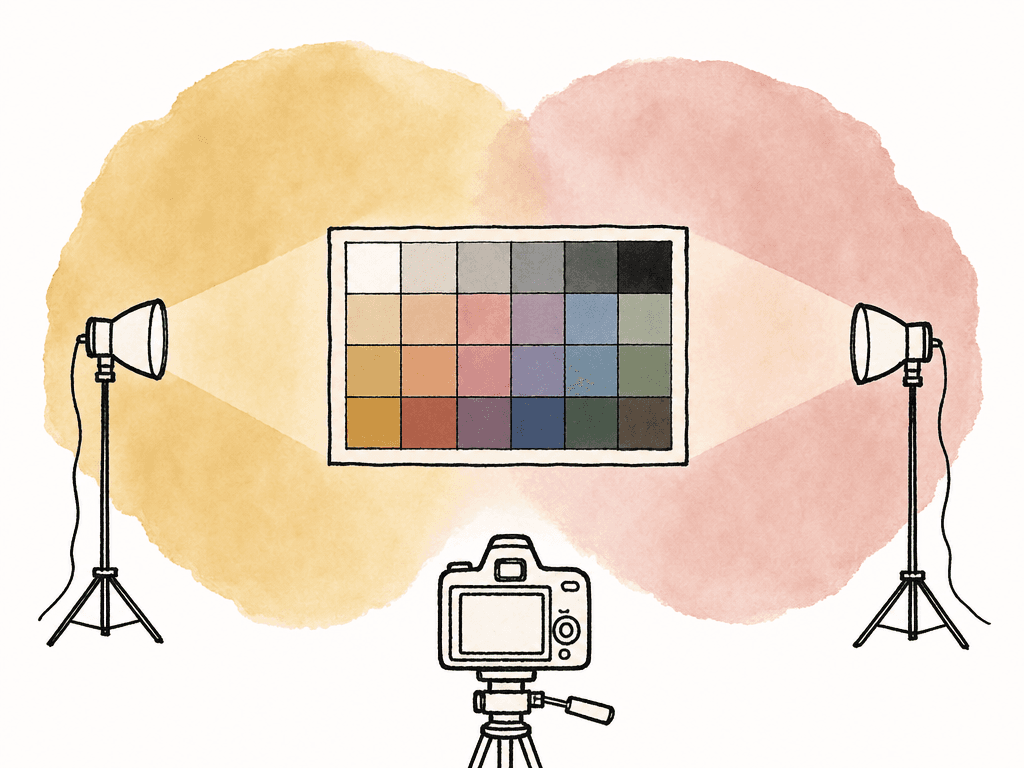
The goal is repeatability. You want a package where Camera A, Camera B, and Camera C were tested under the same conditions, with settings that reflect the real shoot. For a controlled chart setup, keep these variables stable:- Light source and color temperature
- Light level at the chart
- Camera distance and framing
- Lens focal length or field of view
- Aperture, shutter, ISO or EI, frame rate, and recording format
- White balance method and Kelvin value
- Monitoring transform and any LUT used on set
- Timecode, slate naming, and camera ID
- Chart angle, chart flatness, and glare control
Capture the camera settings like metadata depends on it
The chart package is only useful if post knows what it's looking at. A chart frame without camera settings is a nice picture of a chart. For each camera body and setup, record the core technical state:- Camera make, model, serial number, and firmware
- Sensor mode, resolution, crop mode, and aspect ratio
- Codec, bit depth, chroma subsampling, compression ratio, and RAW settings
- Log or gamma curve, color gamut, and camera color science version if applicable
- ISO, EI, gain mode, or dual-base setting
- Shutter angle or shutter speed
- Frame rate and project base rate
- White balance Kelvin and tint or CC value
- Lens make, focal length, T-stop, filtration, and any speed booster or adapter
- Internal noise reduction, sharpening, detail, highlight recovery, or look settings
- Monitoring LUT, show LUT, CDL, or viewing transform
- Audio sample rate and timecode mode when relevant to editorial sync
Shoot exposure brackets instead of a single “correct” frame
One properly exposed chart frame is useful. A bracketed series is far more useful.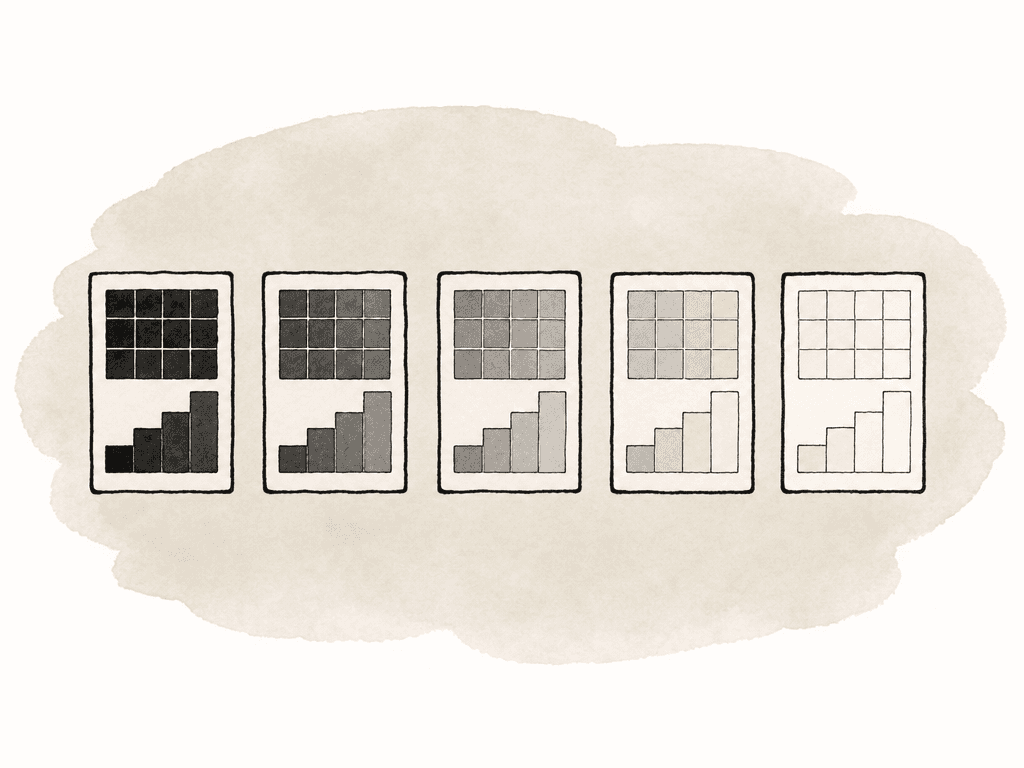
- Normal exposure based on the chosen meter method
- One stop under and one stop over
- Two stops under and two stops over
- Additional half-stop or third-stop increments near expected clipping points
- A gray card frame at each key exposure when transform work is involved
- A skin tone reference at normal, under, and over exposure if talent is available
- Aperture, which also changes lens performance and depth of field
- Shutter, which changes motion
- ISO or EI, which may change noise behavior or highlight allocation depending on the camera
- ND or light level, neither of which changes depth of field or motion
Include real-world lighting after the clean chart pass
A clean chart pass is the baseline. It isn't the whole test. After the controlled chart frames, shoot the situations the production will actually face. Sodium-vapor street spill, LED volume light, and mixed office fluorescents are common. So are tungsten practicals, firelight, and stage color. Car interiors, overcast day exteriors, and high-contrast windows round out the list. For each lighting condition, capture:- Gray card
- Color chart
- Skin tone reference when possible
- Neutral wardrobe or fabric
- Important production colors, such as hero wardrobe, product colors, set paint, screens, or brand colors
- A few seconds of motion if the test affects editorial matching
Keep the slate and naming predictable
Camera tests fail in post when the media is technically fine but impossible to interpret. “A001_C003” isn't enough when there are eight cameras and twenty brackets. Use visible slates and folder names that describe the test. Good labels carry camera ID, chart type, and lighting condition. Add exposure offset, color pipeline, and date. A useful naming pattern might look like this:CAM_A_ALEXA35_DAY5600_COLORCHECKER_NORMAL
CAM_A_ALEXA35_DAY5600_COLORCHECKER_PLUS1
CAM_B_FX6_DAY5600_COLORCHECKER_NORMAL
CAM_B_FX6_DAY5600_COLORCHECKER_PLUS1
CAM_C_BMPCC6K_TUNG3200_DSC_ONESHOT_MINUS1
Analyze the footage in the same pipeline the show will use
Don't judge log chart frames by eye in a random viewer. Bring the footage into the color pipeline the production expects to use.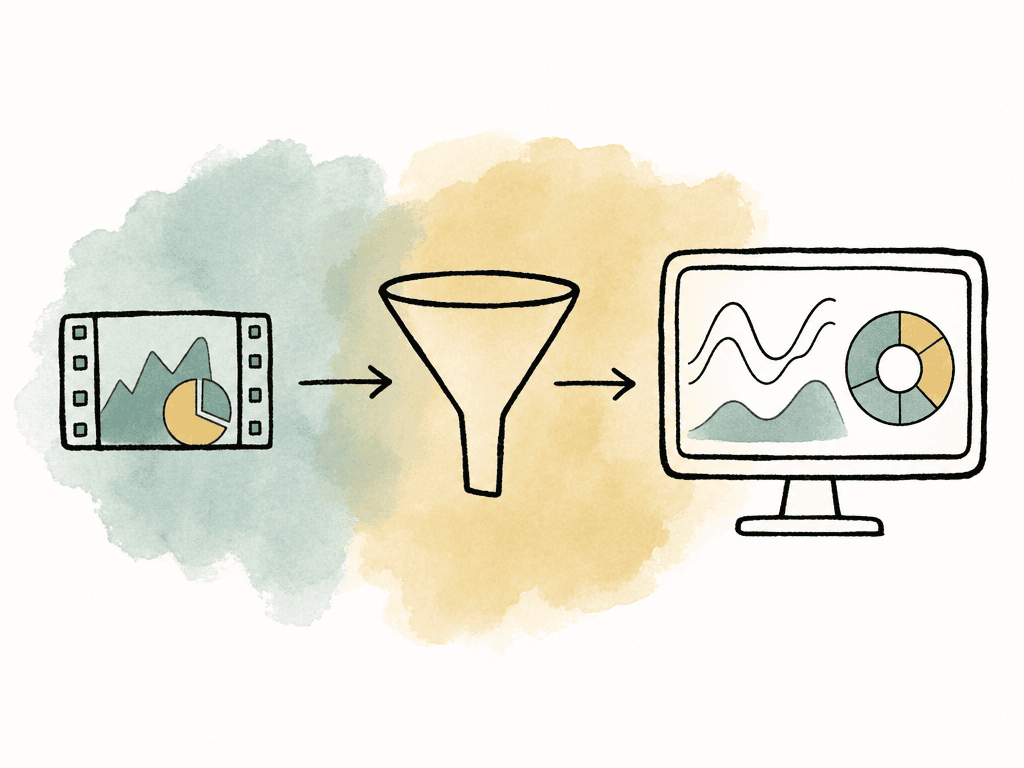
- Does middle gray fall where expected after the transform?
- Do neutral patches stay neutral, or is there a tint bias?
- Does skin sit where the DP and colorist expect after the base transform?
- How far can each camera be pushed before noise, banding, clipping, or hue shifts become unacceptable?
- Which settings should the team ban because they create avoidable post problems?
Turn findings into production guidance
Your test package should produce decisions. A useful summary for production might say:- Camera B should be rated one-third stop lower than Camera A for the show look.
- Camera C is acceptable for daylight inserts but not mixed LED interiors.
- The show LUT is safe for dailies, but the dailies team should apply only primary CDLs.
- Your team shouldn't use auto white balance, internal sharpening above a certain setting, or high-compression proxy recording.
- Editorial should flag the drone camera in editorial bins because it needs a separate transform.
Package the reference library so future teams can use it
A camera test is expensive. Don't let it disappear after the prep week. Create a reference library that keeps original media and proxies together with stills, notes, and analysis. The structure should be simple enough that an assistant editor can ingest it and a colorist can find the original chart frame two years later. A practical library structure could include:Camera_Test_Package/
00_ReadMe/
01_Workflow_Notes/
02_Original_Camera_Media/
03_Transcodes_Proxies/
04_Reference_Stills/
05_LUTs_CDLs_Transforms/
06_Scope_Exports_Reports/
07_Colorist_Notes/
08_Editorial_Notes/
- Original camera files
- Camera reports and lens notes
- Stills exported through the neutral technical transform
- Stills exported through the show look, if one exists
- CDL and LUT versions your team used during analysis
- Resolve project, Baselight scene, or other grading project when allowed
- Written conclusions and exposure recommendations
Treat chart condition and environment as part of the data
Charts are physical objects. They pick up fingerprints, scratches, and dust. They also warp, fade in the sun, and catch coffee mist. A damaged chart can make a camera look wrong. Store charts in protective cases. Avoid touching patches. Keep them out of direct sun except when shooting. Replace charts that are visibly faded or damaged. For measurement-heavy work, use charts with measured reference data, or take a separate chart measurement. The same applies to the viewing environment. If analysis happens on an uncalibrated display in a bright room, conclusions about subtle color differences are shaky. You can still learn useful things from scopes and relative comparisons, and you should be honest about the limits. A reference-grade review environment isn't always available in prep. Don't let a chaotic one become the basis for show-wide color decisions.Common ways camera test packages go wrong
Most bad packages fail for ordinary reasons. The usual problems are easy to recognize:- The chart is under mixed or uneven light.
- The camera is focused behind the chart.
- One camera used a different shutter, frame rate, or white balance.
- A monitoring LUT was mistaken for a recorded look, or the reverse.
- The final notes say “Camera B is greener” without saying under which light or transform.
Make the package small enough to finish
There's a temptation to test everything: every ISO, every lens, every LUT, every codec, every lighting condition. That creates a giant pile of footage nobody has time to analyze. A useful camera test package is scoped around decisions. For a typical cross-brand production, the core package can be compact:- Controlled daylight chart pass for each camera
- Controlled tungsten chart pass for each camera
- Exposure brackets for hero and secondary cameras
- Skin tone reference under key lighting conditions
- Real-world mixed-light scene
- Show LUT or color pipeline validation
- Written recommendations for exposure, matching, dailies, and editorial labeling
The handoff that actually helps post
When the package moves from camera prep to post, send context with the media. The assistant editor should know which clips are technical references and which are creative tests. The colorist should know which chart frames are valid for analysis and which were casual on-set references. The post supervisor should know what decisions came out of the test. A strong handoff includes:- Original test media, plus proxies if editorial needs them
- Camera reports and workflow notes
- LUTs, CDLs, and transform assumptions
- Stills and scope grabs
- A short written recommendation tied to camera IDs and lighting conditions
FAQ
A practical camera test package includes an 18 percent gray card, a color rendition chart such as an X-Rite ColorChecker, and a DSC Labs chart for scope-based matching. Add a grayscale or step wedge chart for tonal response, plus a focus or resolution chart if sharpness or lens behavior is part of the test. VFX-heavy productions may also need gray balls, chrome balls, color charts, and HDRI or lighting reference.
Shoot a normal exposure first, then capture controlled underexposed and overexposed versions, commonly at one-stop and two-stop intervals. If clipping behavior is important, add half-stop or third-stop increments near the limits. Change only one exposure variable at a time, and document whether the bracket was made with aperture, light level, ISO or EI, ND, or another method.
A chart frame can look very different depending on the transform, LUT, color management system, or display path. Testing in the intended pipeline shows whether middle gray, neutrals, skin tone, saturation, clipping, and camera matching behave as expected in the same environment that dailies, editorial references, and finishing will use.
Record camera make, model, firmware, sensor mode, resolution, codec, bit depth, log or gamma curve, color gamut, ISO or EI, shutter, frame rate, white balance, lens, filtration, internal processing settings, monitoring LUT, show LUT, CDL, and timecode mode when relevant. Without that context, chart footage is difficult or impossible to interpret later.
Store original camera media, proxies, reference stills, workflow notes, camera reports, LUTs, CDLs, transform assumptions, scope exports, colorist notes, editorial notes, and a clear readme in one structured package. The readme should describe the shoot date, cameras, charts, lighting setup, pipeline assumptions, conclusions, and known limitations so future teams can understand and reuse the test.
Treat camera ID, chart type, lighting condition, exposure offset, transform, and decision notes as searchable metadata instead of burying them in filenames. Aspect lets teams create project-specific fields so those attributes can be tracked, filtered, and sorted as custom metadata.


