

What the ratio actually means
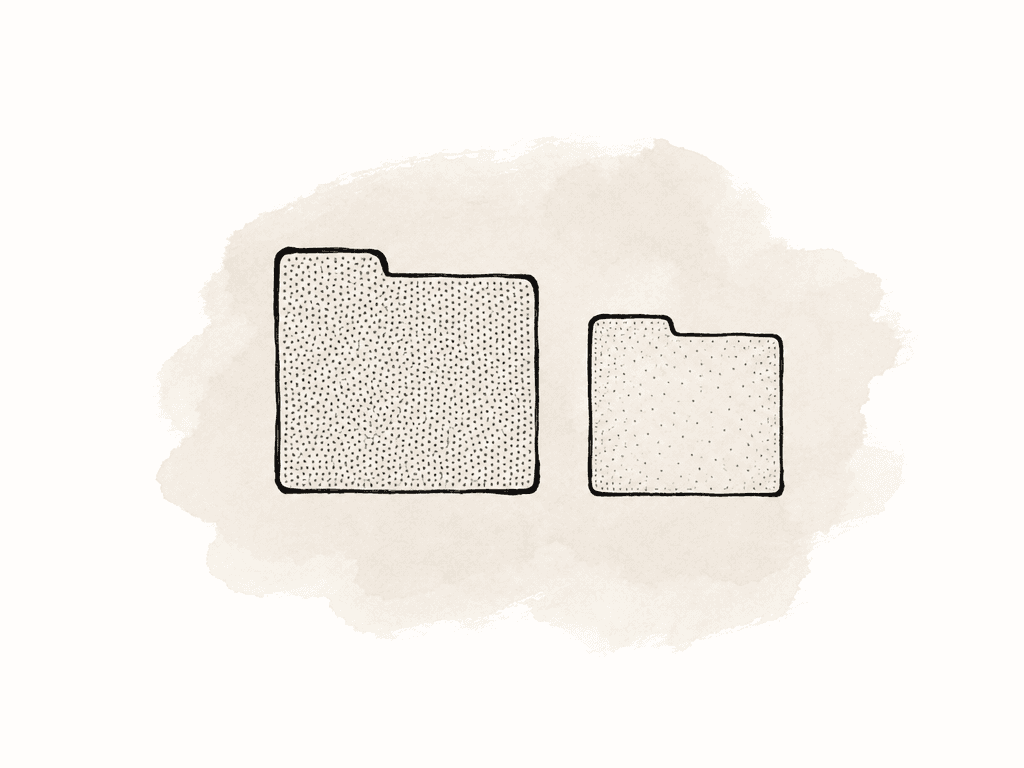
REDCODE compression ratios compare the size of the uncompressed image data to the compressed R3D data. At 5:1, the compressed file is roughly one fifth the size of the uncompressed source. At 10:1, it's roughly one tenth. The higher the first number, the smaller the file. That doesn't mean a 10:1 R3D behaves like a 10 Mbps H.264. R3D is still RAW. The file carries sensor data and metadata, and post can still change ISO, white balance, and color space. Gamma and debayer interpretation stay open too. But REDCODE is lossy compression, so even at high-quality settings, the camera is deciding what information can be reduced. Before you see an RGB image, the application has to decompress and debayer the R3D. That is true in Premiere Pro, DaVinci Resolve, and Final Cut Pro. It is equally true in REDCINE-X Pro and every other finishing system. Compression happens upstream of that debayer. If it has softened fine texture, introduced edge artifacts, or made noisy shadows less coherent, the debayer has less clean information to reconstruct into visible pixels. That's why compression ratio affects finishing even though R3D is RAW.Lower compression helps the debayer do its job
A Bayer sensor doesn't capture full red, green, and blue values at every pixel. The debayer process reconstructs a full-color image from the sensor pattern. Good debayering depends on clean relationships between neighboring photosites, especially at edges, in texture, and across the color transitions where noise lives.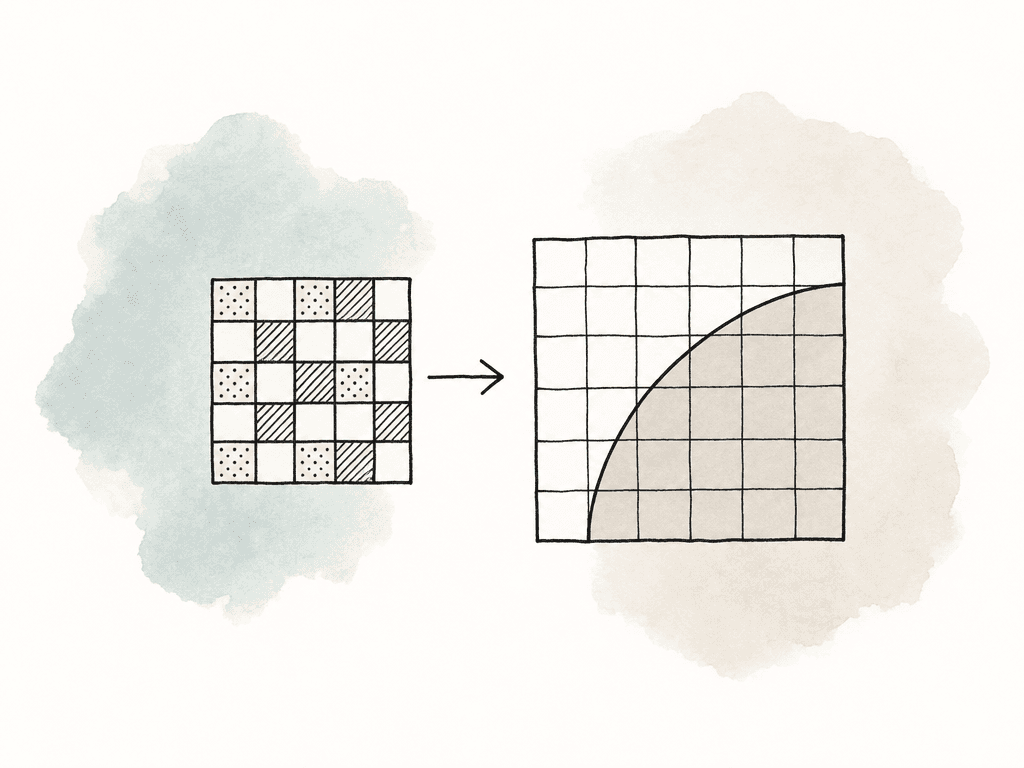
- Fine detail in hair, fabric, foliage, product texture, architecture, and wide landscape shots
- Noisy or underexposed material that will need recovery in color
- High-motion scenes with complex texture, water, smoke, rain, sparks, confetti, or handheld camera movement
- VFX pulls, greenscreen, roto, matchmove, and still-frame extraction
- HDR grades where small compression defects can become more obvious
Useful ratio ranges by type of job
Camera generation and sensor mode change the exact answer. So do frame rate and scene type. Treat the ranges below as a starting point rather than law. Common practical ranges look like this:| Compression setting | Typical use | Why choose it | Main tradeoff |
|---|---|---|---|
| 3:1 to 5:1 | VFX-heavy work, HDR, product beauty, plates, stills from motion, high-end commercial finishing | Preserves the most fine detail and gives the debayer and grade the cleanest source | Largest files, shortest record times, heavier offloads and archives |
| 5:1 to 8:1 | Narrative, premium documentary, high-end TV, commercial work with normal finishing demands | Strong balance of image quality and media volume for many finishing workflows | Still requires a real storage plan, especially at high resolution or high frame rate |
| 6:1 to 9:1 | Broadcast, documentary, branded, corporate, and mixed-condition shoots | Keeps R3D flexibility while reducing storage and transfer pressure | More scene-dependent, so noisy, detailed, or heavily graded shots need testing |
| 8:1 to 13:1 | Interviews, long-form capture, web delivery, event-style coverage, low-risk scenes | Longer record times, smaller offloads, faster transfers, lower archive cost | Higher risk of soft texture, rougher edges, or artifacts when pushed in color, VFX, crops, or HDR |
- HQ: high-complexity scenes, VFX, and stills from motion
- MQ: cinema and high-end TV
- LQ: TV, online, documentary, and interviews
- ELQ: the longest recording time, when the scene can tolerate it
Don’t confuse acquisition compression with playback debayer settings
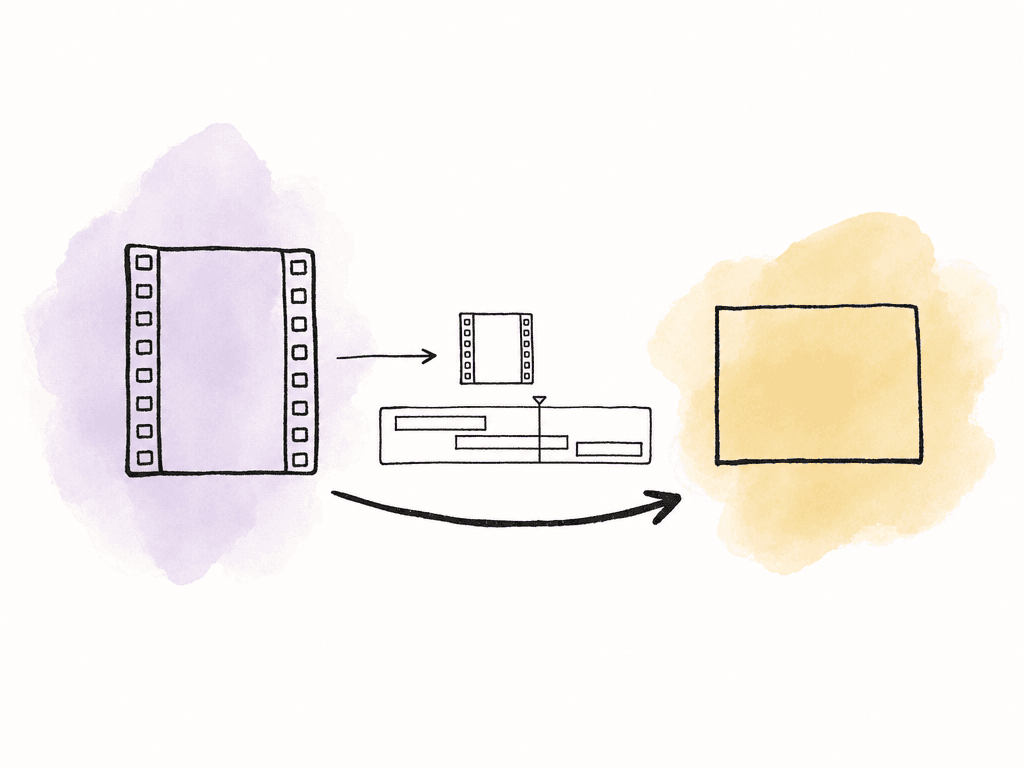
This causes a lot of bad decisions in post meetings. In editing software, you can often choose lower debayer or decode quality for playback. Half-res or quarter-res debayer makes R3D files much easier to edit, especially on laptops or shared storage. That setting is temporary. You can switch back to full-quality debayer for color, VFX pulls, or final render. Camera compression ratio isn't temporary. If the scene was recorded at a high compression ratio, no later debayer setting can recreate information the camera didn't preserve. So the offline-friendly approach is:- Shoot the R3D quality needed for final.
- Generate proxies, optimized media, or editorial transcodes for cutting.
- Relink or conform back to the camera originals for color and finishing.
- Use lower debayer settings only as a playback performance tool.
When higher compression is the right choice
There are real jobs where higher compression is the responsible choice. Sometimes the alternative is missed coverage, too few cards, or an offload window that cannot close. Sometimes it's a cloud transfer that won't finish before the next production day. In those cases, a smaller R3D is the better production decision. Higher compression tends to make sense when the work has these characteristics:- Long recording times with low editorial select rates
- Final delivery is HD or UHD web, not heavy theatrical or HDR finishing
- Minimal VFX, keying, stabilization, or extreme reframing
- Good exposure and controlled lighting
- Tight storage, upload, or turnaround constraints
Where compression artifacts usually show up
Your team shouldn't judge compression ratio tests by looking at a clean close-up on a calibrated monitor at normal size. Most ratios look fine there. You want to inspect the types of images that make compression work hard. Look closely at these areas during a test:- Fine repeating detail, such as fabric weave, brick, leaves, grass, hair, or distant city texture
- Noisy shadows and underexposed areas lifted in the grade
- Saturated colored light, LEDs, neon, gels, and stage lighting
- Greenscreen or bluescreen edges after a test key
- Cropped or stabilized shots viewed at the final delivery size
Camera limits can change the ratio you think you selected
On some RED cameras, the selected compression ratio is a target rather than a guarantee. If the camera can't achieve that target in the current recording mode, it may display the ratio differently and use the next possible value. RED documentation notes that the camera can recalculate the current compression ratio when you change project resolution, aspect ratio, frame rate, HDRx mode, media, or target REDCODE ratio. That matters because these settings all affect whether a ratio is available or practical:- Resolution and sensor area
- Aspect ratio
- Project time base and recording frame rate
- Off-speed or high-frame-rate recording
- Media type and write speed
- Simultaneous recording to third-party codecs
- Lookaround or monitoring modes on cameras that support them
- Camera generation and firmware
Storage planning by ratio
For planning, treat file size as roughly proportional to the inverse of the compression ratio. If everything else stays the same, 8:1 is smaller than 5:1 by a predictable amount.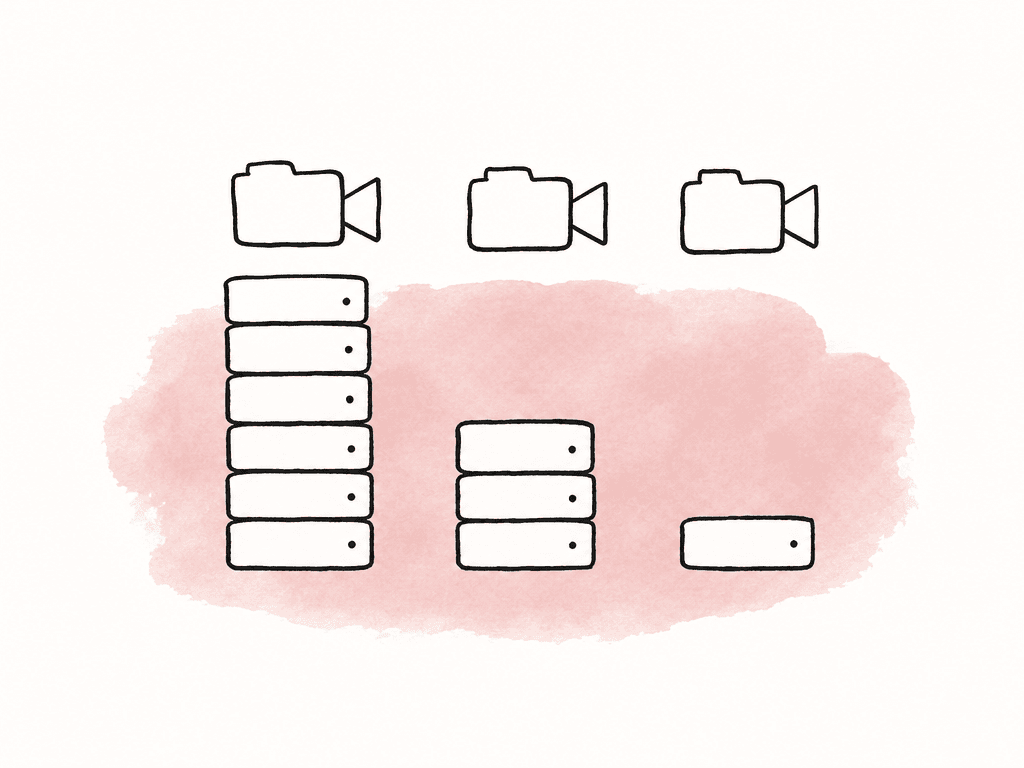
new size = known size × old ratio ÷ new ratio
So if your team estimates a shooting plan at 1 TB at 5:1:
- At 3:1, the same footage is about 1.67 TB.
- At 8:1, it's about 625 GB.
- At 10:1, it's about 500 GB.
- At 12:1, it's about 417 GB.
- Expected shoot ratio, not just final runtime
- Resolution and frame rate for each shooting mode
- Separate estimates for normal speed, high speed, and specialty units
- Camera originals
- On-set backup copies
- Shuttle drives or cloud upload staging
- Editorial proxies or optimized media
- Audio, stills, LUTs, reports, and project files
- Headroom for pickups, resets, and overtime
Keep the R3D folder structure intact
Compression ratio is only useful if the media survives the workflow cleanly. RED cameras commonly split clips into multiple file chunks during recording. Many workflows see 4 GB R3D portions inside the camera folder structure. The NLE or finishing system should treat those chunks as one clip. If someone drags individual R3D chunks around, renames folders, or separates sidecar files, conform and relink get messy fast. Preserve the original magazine and clip folder structure from offload through archive. Import through the proper media tools rather than treating each chunk as a standalone movie file. In Premiere Pro, RED recommends using Media Browser and navigating at the card or RDM folder level, so the application indexes the full card and imports spanned clips properly. The same general idea applies across systems: let the software understand the RED structure. This also helps with metadata. R3D workflows depend on timecode, reel or clip names, and camera metadata. RAW settings and sidecar information matter too. That metadata is part of what makes RAW finishing flexible, so don’t break it while trying to “clean up” folders for upload or editorial.Choosing the ratio for delivery workflows
For planning around delivery, start from the highest-risk final use rather than the easiest offline edit. A project that's finishing in color from R3D, needs HDR, may require VFX, or has unknown future versions should stay conservative. 5:1 to 8:1, or MQ/HQ on newer cameras, is easier to defend than a storage-saving ratio that falls apart under a grade. For a long-form documentary or interview-heavy job with heavy shooting days and a practical UHD or HD finish, LQ or a higher numerical ratio may be perfectly reasonable. Test the worst scenes, not the best ones. If the project is truly offline-only — internal, social, or fast-turnaround web content — storage and transfer limits may matter more than invisible gains in image quality. In that case, higher compression can be the right production choice, especially if exposure is controlled and the final grade will be modest. So ask one question before the camera rolls. Which ratio gives this finish enough image latitude while keeping production, storage, and delivery realistic? Answer it from the hardest scene on the schedule, then put that ratio in the camera report so post inherits the decision instead of discovering it. That framing is also the easiest one to explain to producers, DPs, and post supervisors.FAQ
Often, yes. 8:1 is a practical finishing ratio for many narrative, documentary, commercial, and branded projects, especially when exposure is good and the material isn't heavily pushed. It gets riskier with VFX, greenscreen, and HDR. It also gets riskier with heavy reframing, noisy shadows, saturated lighting, fast motion, or fine texture. Test the hardest expected material before committing.
Proxies don't protect the camera originals. If the R3D files are the finishing source, choose the compression ratio for color, VFX, and delivery reframes. Then make proxies for editorial performance. A proxy workflow makes editing easier, but it can't restore RAW detail that wasn't preserved during recording.
Lower playback debayer settings affect monitoring and editing performance, not the recorded R3D data. You can cut at half-res or quarter-res debayer, then return to full-quality debayer for finishing. Camera compression ratio is different, because it is baked into the original recording.
Look for subtle problems rather than obvious blockiness. Common signs are softened fine detail, crawling texture, and rough edges. Noise gets unstable, shadows go mushy, and fine patterns weaken in hair, fabric, foliage, water, smoke, rain, or city detail. Test after applying the actual show LUT and grade, then after a crop, sharpening, denoise, key, or HDR pass.
Use the ratios as a rough proportional estimate. A project expected to be 1 TB at 5:1 would be about 1.67 TB at 3:1, 625 GB at 8:1, 500 GB at 10:1, or 417 GB at 12:1. Actual camera data rates vary by model, resolution, frame rate, sensor mode, and firmware. Use camera calculators or real tests for final planning.
Treat the full card or RDM folder as the unit of work, not individual R3D chunks. Assistants preserve the original folder structure once in a shared workspace. Editors and finishers then open the same organized media instead of passing around renamed duplicates. Aspect gives the team one shared cloud filespace.


